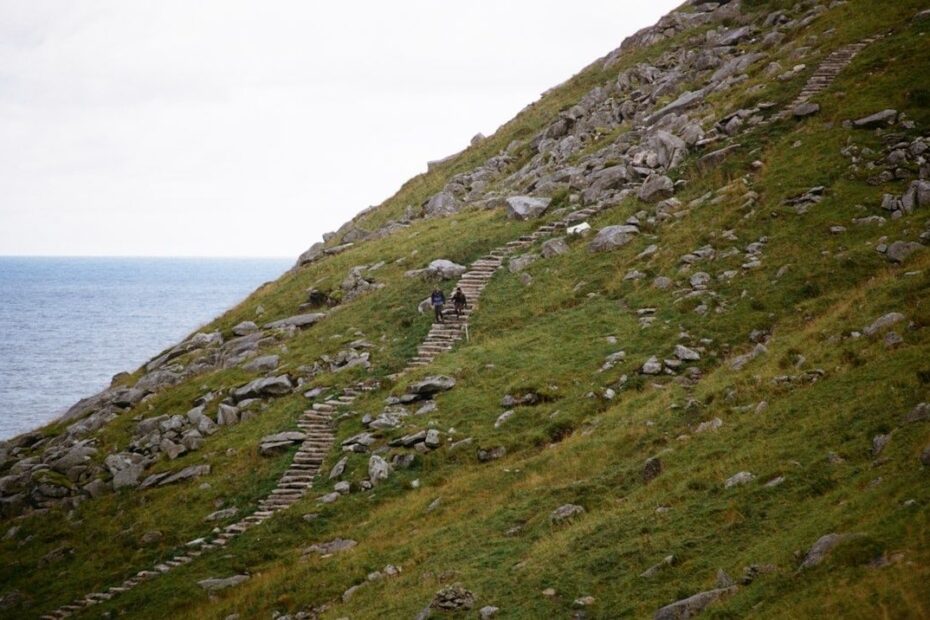
Mastering the Rollercoaster of Coastal Valleys
Long-distance coastal walking is often described in terms of cliffs, sea views, and headlands, but the hardest work frequently takes place out of sight of the water. Trails such as the South West Coast Path repeatedly drop from exposed clifftops into sheltered valleys, cross a stream or road, and climb immediately towards the next ridge. None of these ascents may resemble a mountain pass, yet their cumulative effect is considerable. A full day can contain thousands of metres of climbing and descending, with every valley asking the legs to repeat the same effort before they have fully recovered from the last.
A flat-walking pace fails quickly in this terrain because speed is no longer governed by distance alone. Gradient, surface, wind, mud, steps, pack weight, and the need to maintain balance all increase energy expenditure. The right response is not to fight every slope at the same speed, but to change the way the route is walked. Hiking conditioning guidance commonly separates uphill endurance from downhill control, and that distinction is particularly useful on coastal paths. Treat each valley as one part of a longer rhythm, not as an isolated test. The aim is to arrive at the next headland with enough reserve for the valleys still ahead.
Biomechanics of the Short-Stride Ascent
On a steep path, the first adjustment should be a reduction in stride length. Long steps may feel efficient on level ground, but on wet turf, loose soil, or a sharply rising path they place the foot too far ahead of the body and encourage the hips to lag behind. Short, frequent steps keep the centre of gravity closer to the midfoot, reduce braking forces, and allow the ankle, knee, and hip to work in a more controlled sequence. The movement should feel like climbing a staircase with compact steps rather than lunging up a hill.
Cadence matters because it spreads the work over time. A steady, slightly quicker rhythm prevents the powerful early push that rapidly exhausts the glutes and hamstrings. Keep the upper body tall, lean forward subtly from the ankles rather than bending at the waist, and place each foot deliberately on the firmest available section of trail. On a narrow muddy ramp, the best line may be close to the edge of the path where drainage has left firmer ground, but only if the edge is stable and safely away from a drop. The surface always takes priority over an idealised technique.
Breathing provides an early warning system. Before the heart rate rises sharply, shorten the stride again, ease the arm swing, and settle into a pace at which brief conversation remains possible. Waiting until the legs are burning makes recovery harder, especially when another climb begins after only a short valley crossing. Endurance walking is based on consistency rather than racing speed, so a controlled pace that can be repeated for several hours is more valuable than a fast ascent followed by a prolonged stop.
- Use compact steps and avoid reaching uphill with the leading foot.
- Keep the foot landing beneath or only slightly ahead of the hips.
- Choose firm ground, even when it adds a small amount of distance.
- Reduce pace before breathing becomes laboured, not after fatigue has taken hold.
- Keep pack weight close to the back and avoid loose items that disturb balance.
Trekking Pole Mechanics on Steep Wooden Steps
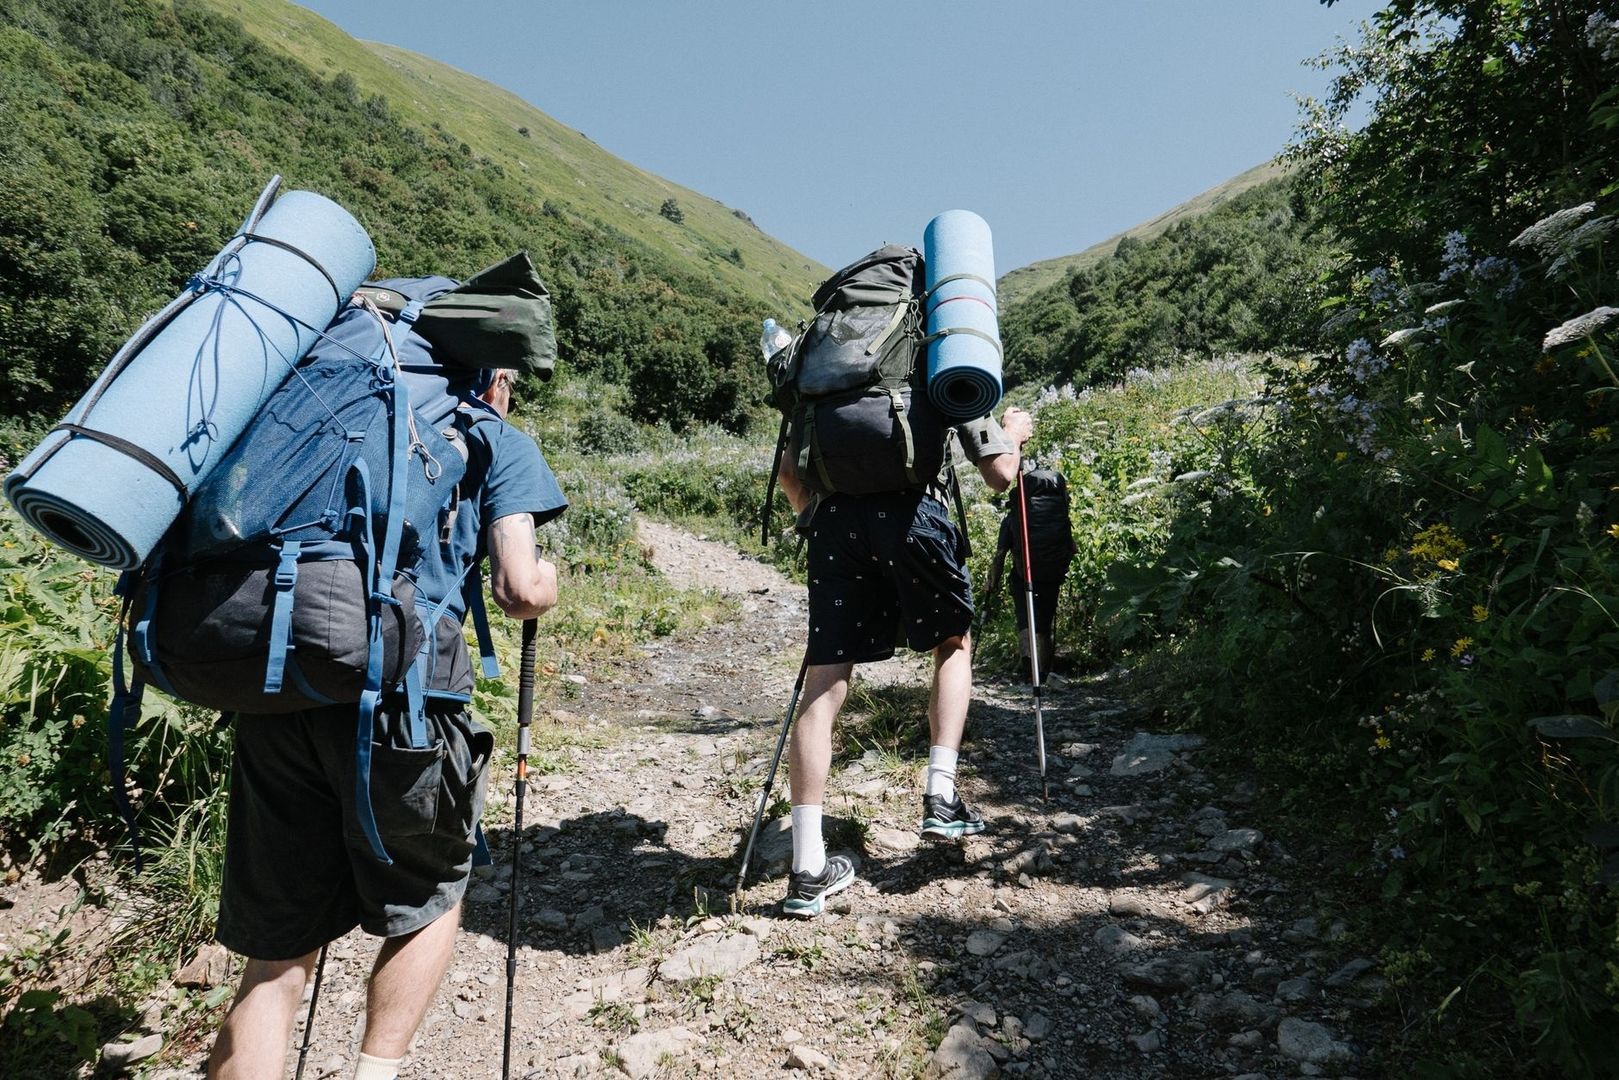
Trekking poles are most effective when they are used as part of the walking sequence rather than planted randomly for reassurance. On an ascent, place the pole slightly ahead and to the side before stepping up, then press through the handle as the opposite leg rises. This transfers part of the load towards the arms and shoulders, reduces the demand on the quadriceps, and gives the body an additional point of contact. The pressure should be firm but progressive. A violent downward jab can cause the tip to skid, particularly on polished timber or wet stone.
High-riser wooden steps require a different rhythm from loose shale. On timber, plant both poles one step above when the tread is broad enough, then bring the feet up in sequence while keeping the torso stable. On narrow or uneven steps, use an alternating pattern, planting the pole on the opposite side to the advancing foot. Loose shale calls for shorter pole placements and a lighter touch. Search for a stable gap between stones rather than forcing the tip onto a moving slab. If the pole sinks deeply into soft material, reset it rather than relying on a weak anchor.
Wrist straps are often misunderstood. Slide the hand up through the strap from below, then close the grip around the handle so that the strap supports the wrist. Do not tighten the strap until circulation is restricted, and do not trap the hand in a way that prevents a rapid release near a cliff edge. On narrow coastal paths, poles should be shortened enough to avoid catching vegetation or another walker, and one pole may be more practical than two when a hand is needed for a gate, rock, or fixed chain.
- Adjust pole length before the steep section begins, using slightly shorter poles for a sharp ascent.
- Plant the tip securely before transferring weight, checking for mud, loose stone, and hidden gaps.
- Coordinate the pole with the opposite leg so the upper body shares the climbing load.
- Keep elbows softly bent and shoulders relaxed rather than locking the arms straight.
- Fold or carry the poles before narrow passages where they could compromise balance.
Protecting Knees During Sustained Coombe Descents
Descending into a coombe is not passive recovery. The quadriceps contract while lengthening to control the body, a form of eccentric work that can create substantial muscle damage and soreness when repeated over many hours. The temptation is to straighten the knees and brake hard with each step, but this concentrates force around the knee joint and rapidly tires the front of the thighs. A better descent uses a modest knee bend, a quiet footfall, and a cadence that remains under control without becoming slow and rigid.
Foot placement should respond to the surface. On wet limestone, place the whole foot wherever possible and avoid twisting on the forefoot. Step across the slope only when the tread is secure, and keep the boot sole clean enough to preserve its tread pattern. Eroded coastal clay can be deceptively slippery, particularly after rain. Shorten the step, lower the centre of gravity slightly, and test uncertain patches with the pole before committing body weight. Supportive footwear, moisture-managing socks, and a properly balanced pack also reduce the small movements that accumulate into foot, ankle, and knee discomfort.
Straight-line braking is often acceptable on a clear, moderate gradient, but it becomes inefficient on a steep open descent. Micro-switchbacks, created by taking a shallow diagonal across the slope and then changing direction, reduce the effective gradient and limit repeated impact. The turns must remain wide enough to avoid scuffing the path edge or damaging vegetation, and they should never be used where exposure, loose rock, or other walkers makes the line unsafe. Where the route is waymarked and constrained, follow the established path rather than cutting across the hillside.
| Descent condition | Useful response | Primary caution |
|---|---|---|
| Firm, moderate grass | Maintain a steady cadence with soft knees | Avoid overstriding and hard heel braking |
| Wet limestone | Use full-foot placements and deliberate pole plants | Do not twist on a loaded foot |
| Eroded clay | Shorten steps and lower the centre of gravity | Test slippery patches before committing weight |
| Loose shale | Use small steps and select stable stones | Do not rely on a pole planted on moving rock |
| Steep open slope | Use safe, shallow diagonal lines where permitted | Never cut across fragile ground or exposed edges |
Micro-Recovery Protocols Between Successive Climbs
The valley floor is an opportunity to recover without losing the walking rhythm. A complete stop may be necessary for food, navigation, or injury checks, but frequent unplanned halts can make the next climb feel harder by allowing muscles to stiffen. Instead, reduce the pace for several minutes, lengthen the stride slightly on level ground, and let the arms swing naturally. This active recovery helps lower breathing intensity while maintaining circulation through the calves and thighs.
Hydration should be managed before thirst becomes urgent. Take small, regular drinks and eat before the next ridge rather than waiting for a sudden loss of strength. Water alone may be adequate for shorter outings, but long, warm, or heavily exposed stages increase the importance of replacing food energy and considering electrolytes. Sweat loss varies widely, so avoid treating a fixed drink volume as a universal rule. The South West Coast Path can have long stretches with limited services, and route accounts from extended crossings emphasise the need to plan water, food, timing, and resupply before leaving a major settlement.
Use the sheltered bottom of a valley to make small adjustments that would be awkward on an exposed ridge. Remove or add a layer before overheating, loosen shoulder straps briefly, redistribute a heavy item, and check that footwear is not developing a hot spot. A short calf release can help, but aggressive static stretching on cold, fatigued muscles is unnecessary. Gentle ankle circles, a few controlled calf raises, and a deliberate check of the next ascent are usually more useful. The purpose of a micro-recovery is to restore movement quality, not to erase every sensation of effort.
- Walk slowly for several minutes across the valley rather than stopping automatically.
- Drink and eat before the opposing climb begins.
- Check feet, laces, socks, and pressure points while the terrain is level.
- Adjust layers in sheltered ground before wind exposure returns on the ridge.
- Review the next climb and choose a sustainable pace before the gradient increases.
Sustain Your Energy Across the Final Headland
Repetitive coastal valleys become manageable when ascent, descent, and recovery are treated as connected parts of one system. Short strides preserve alignment and reduce wasted effort on steep ground. Correct pole timing shares the load without compromising balance. Controlled eccentric movement protects the quadriceps on descents, while careful foot placement limits the twisting and slipping that can turn fatigue into injury. These adaptations are small, but repeated hundreds or thousands of times, they determine whether the final headland feels like a measured finish or an avoidable struggle.
The essential skill is patience. Coastal walking rewards the person who reads the next surface, gradient, and weather window rather than chasing a flat-ground pace that the terrain cannot support. Set a rhythm early, fuel before the legs empty, and use every valley crossing to restore movement quality. With suitable preparation, realistic stage planning, and respect for exposed conditions, each climb becomes a familiar part of the route rather than a surprise. The result is not simply faster progress, but steadier feet, calmer decisions, and the physical confidence to continue mile after mile.